For my birthday in June, I had the wonderful gift of a play day with some creative girlfriends. We made some easy silk paper with cocoon strippings, oversprayed with colour and with serviettes embedded
and then it was time to settle to a project. I wanted to create a banner, and started with some fabric serviettes that came from my grandmother.
On the day I trimmed them to size
and had a wee play with layout
Love the turquoise colour scheme but I don't want to keep the serviettes the original colour so once home, I dyed some samples
You can see what I used above - method :: swipe the distress ink onto baking paper (you can see the used bit underneath the fabric) then spritz with water - it will make the distress ink bead up. Swipe the fabric over to soak up the colour. Luckily I captured what each was in my calendar journal :-)
So the first 2 samples were just the swiped distress inks method, but the second 2 were oversprayed. I let them sit for a few days while I tried to decide which effect I liked best, and then when I dyed the actual serviettes I used another combination!
Dry them flat - if you hang them, you will get dye running down away from the pegs. Here they are dry and ready for decoration
Experimenting with layout
This was happening in my calendar journal ::
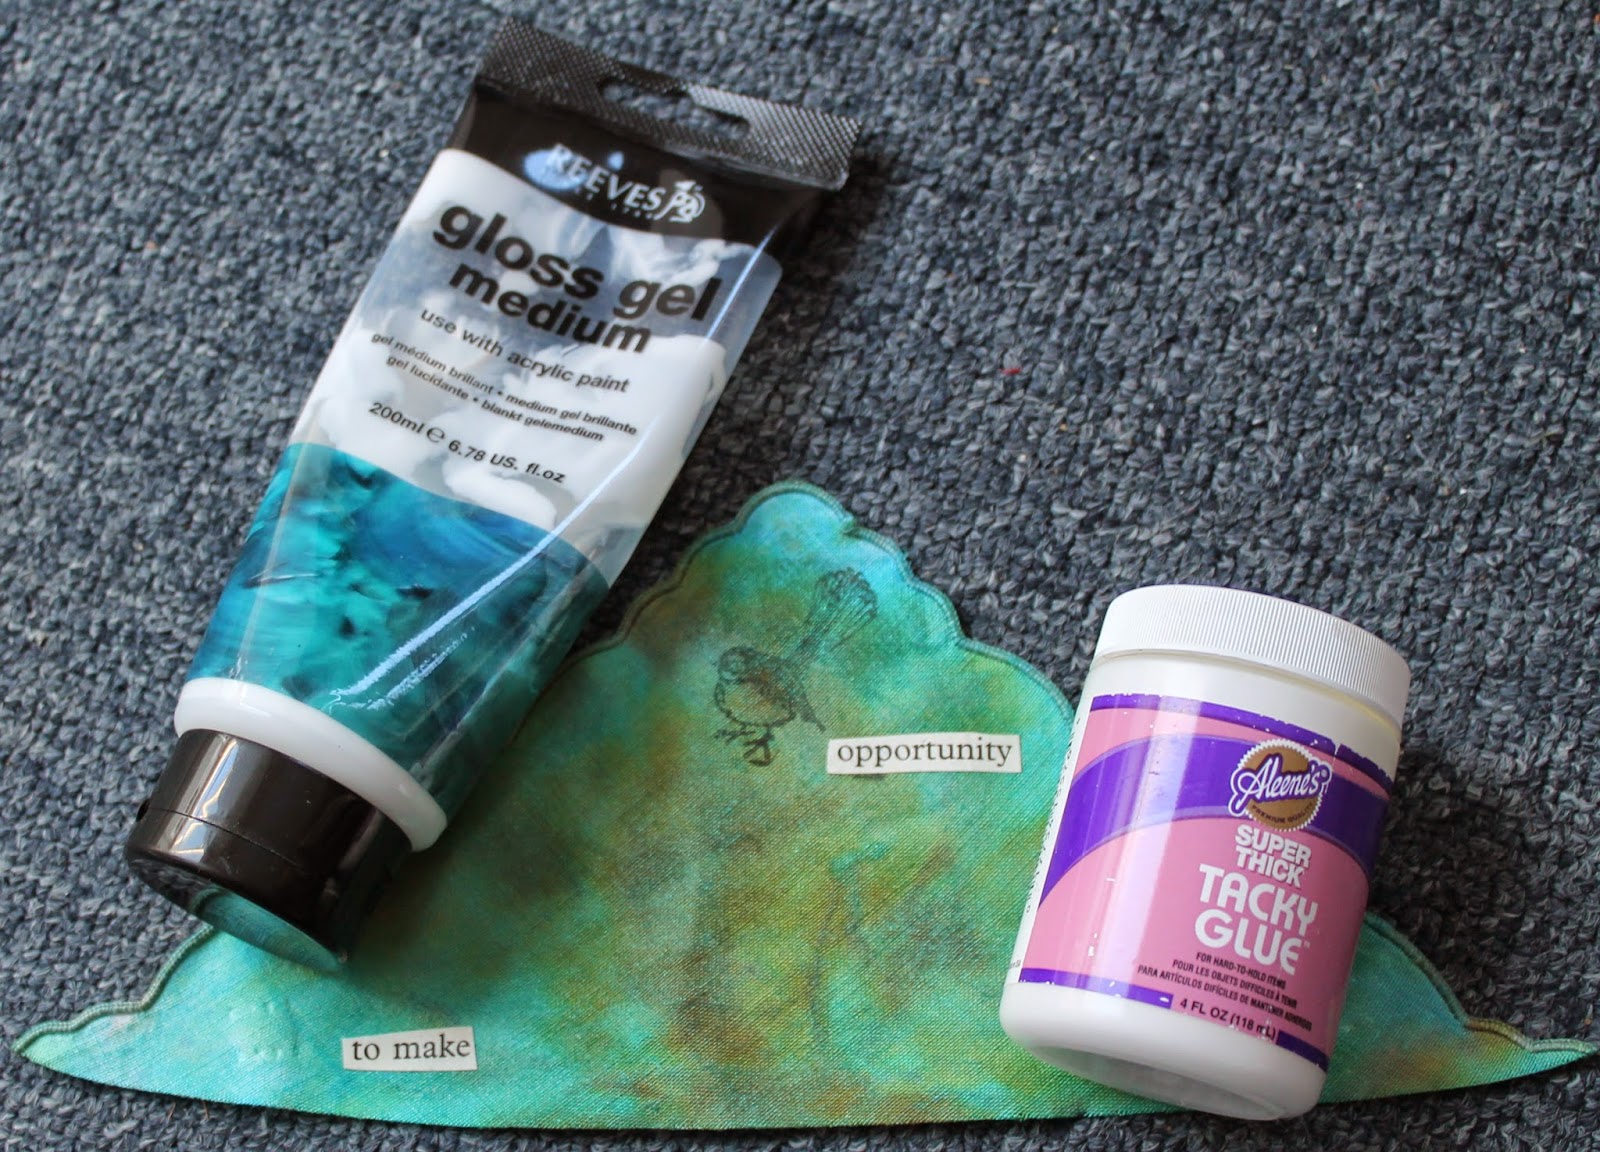
I love using found text from large print books in my work, and wanted to include them in the banner. Had another test using gel medium and tacky glue to see which worked best.
I liked the tacky glue under, and gel medium on top. A couple of the banners needed a little something extra, so out came the gold paint and stencils
The silk paper and serviettes adhered well with mistyfuse
I added a felt back using temporary fabric basting spray before I started stitching.
And here is the banner complete :-)
Click on any photo to see it larger
I took my original piece of silk paper and tore it in half. The left side appears in the first section and the right side in the 5th section of the banner.
Here are the individual sections up close, from left to right
The daisies were punched from cardstock that had been gelli printed some time ago
I enjoyed using a combination of machine, hand stitching and beads for different effects. I used staz-on ink for the fantail above and the butterflies below since I dyed over them, but the other stamp pad of the seed heads I didn't take note of since I won't be washing this piece.
So very happy with how this project turned out. Although it is my own original creation, I must give a nod to the initial inspirations which were a combination of Gentlework's Botanical Bunting, and this project
This looks fabulous Lynnette. Such beautiful colours. I was reading some of your blog and I am glad you have decided to still keep showing your work as you are very creative. I used to do a lot of textiles but stopped so I am enjoying seeing your work. very inspiring and looking forward to seeing some more. Noticed the fairy shoes in the header- I also made a pair of those! x catherine
These look awesome! I'll have to look up that book! Loving that inherited serviette - I would have had a hard time cutting it up, but you made something totally wonderful with it!


Stunning ,just stunning.
ReplyDeleteHad a chuckle ,my next play day was to go along similar lines using doilies fabric and crochet to make another banner.
This is so gorgeous, I love it!
ReplyDeleteReally gorgeous - I've always loved that Ruth Rae project too and did an ATC version a few years ago
ReplyDeleteThis looks fabulous Lynnette. Such beautiful colours. I was reading some of your blog and I am glad you have decided to still keep showing your work as you are very creative. I used to do a lot of textiles but stopped so I am enjoying seeing your work. very inspiring and looking forward to seeing some more. Noticed the fairy shoes in the header- I also made a pair of those!
ReplyDeletex catherine
Enjoyed this post and pictures of your artwork
ReplyDeleteLove the banner, looks like a lot of fun to make too. And....welcome back to the blogosphere! ;-)
ReplyDeleteOMG they are gorgeous, utterly gorgeous!!!
ReplyDeleteNext time I'm in Palmy I may have to beg you to show me how to do all that !
ReplyDeleteThese look awesome! I'll have to look up that book! Loving that inherited serviette - I would have had a hard time cutting it up, but you made something totally wonderful with it!
ReplyDelete